
Step 1) Select the rectangle tool. (See below)

Step 2) Drag and release to draw your shape. (See below)

Step 3) Select the pen tool. (see below)

4) Tap a point within the shape that you already created. (see below)
5) Tap another point outside of the shape you created, keep holding own on the point. (see below)
6) While holding down, drag the line left and right to get the right “bend” that you are looking for. Release down-click. Tap the endpoint that you just made once. (see below)
7) Click another point within the original shape once again and drag to create the desired bend. (see below)
8) Release down click. Once again, tap the endpoint that you just created once (it prevents weird bends in your shape that you don’t want) (see below)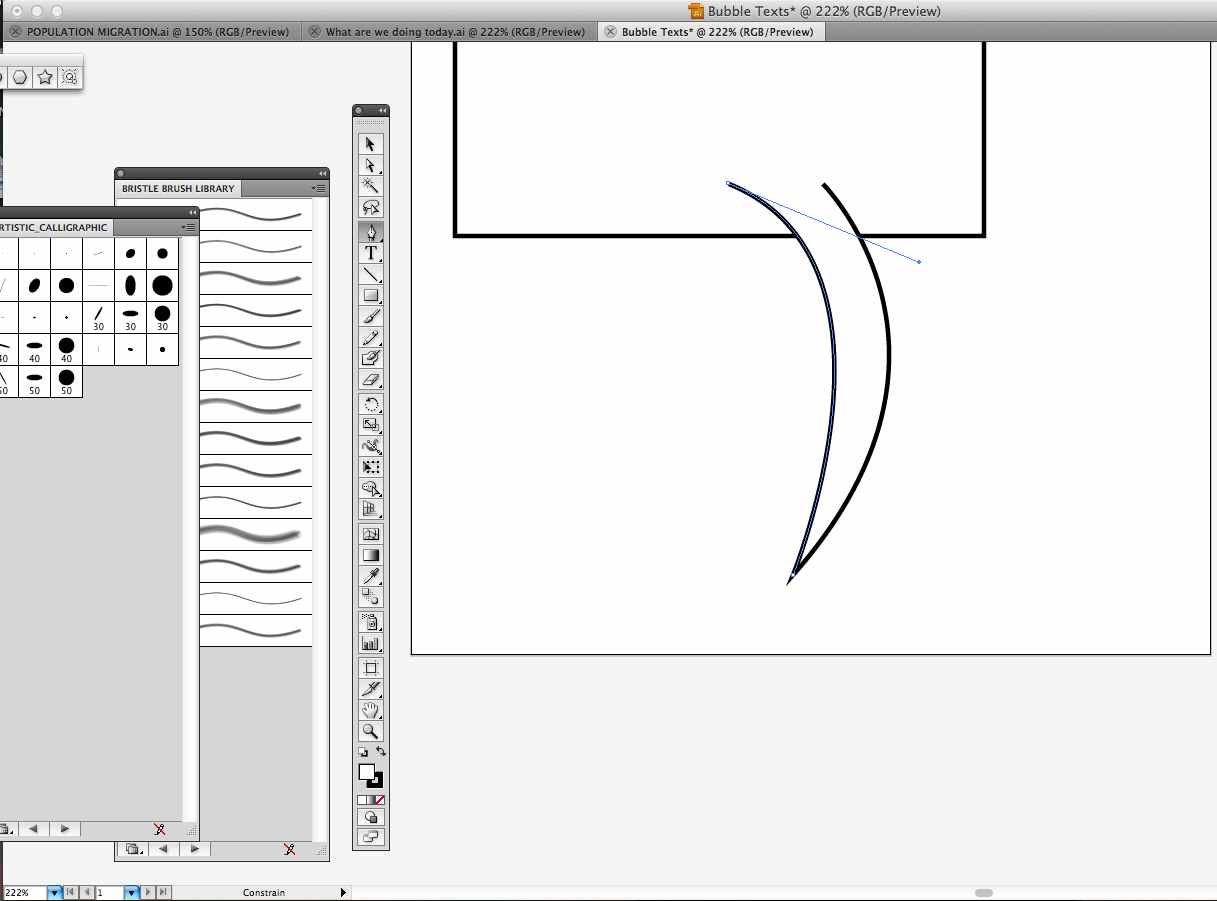
9) Finish the shape by tapping the original point once and closing it off. Release. (see below)
10) Go to Window and make sure that your Pathfinder window is turned on. This is what will connect the shapes. (see below)
11) Make sure that both of the objects are selected with the arrow Selection Tool. (see below)
12) Click the first button in the Shape Maker options in the Pathfinderwindow that you opened.
13) Voila! Your text bubble is ready for some words and placement.
You can create any shape that you want as long as the paths for the lines are closed and you have two or more shapes. Fiddle with the other pathfinder tools to see what you can get away with. Bubble thoughts are just as easy, but obviously created with circle multiple circle shapes. For now, you can at least make some bubbles to get you going. Happy blurbing!

Leave a Reply